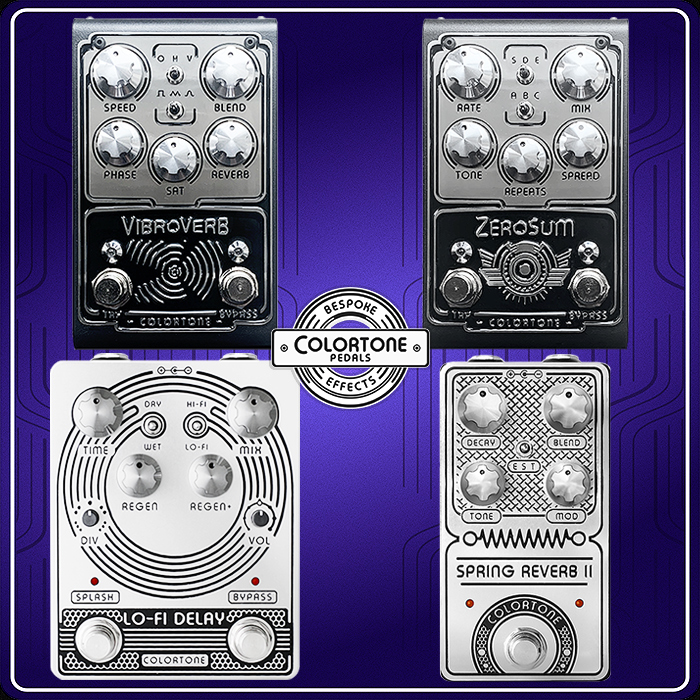
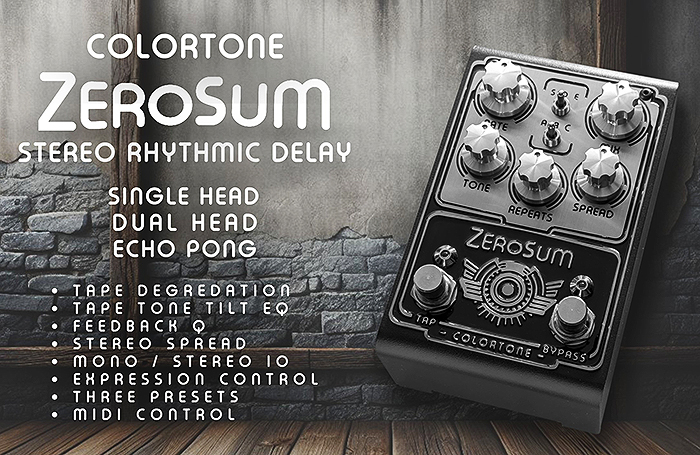
Colortone's ZeroSum is a beautifully textured and spectacular sounding full stereo rhythmic delay - particularly on the Single and Dual-Head Modes
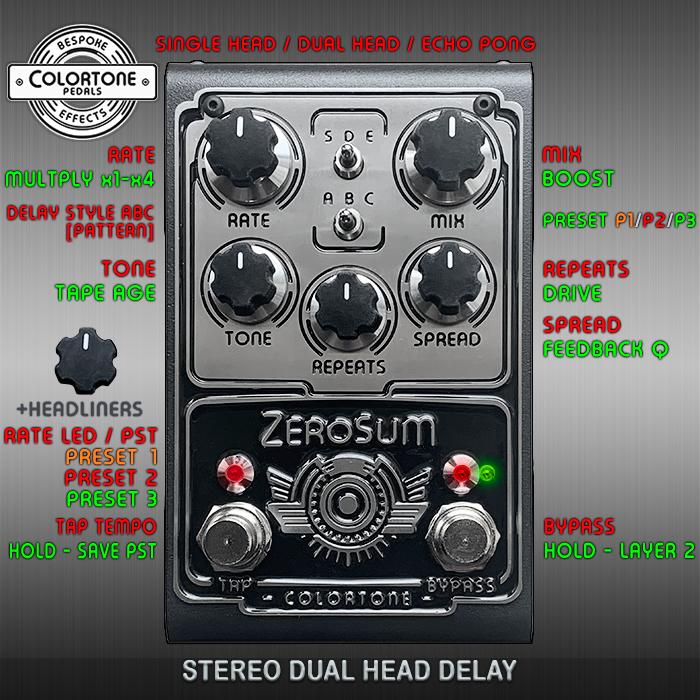
For a simple looking format there’s actually quite a lot to get to grips with here - as we get 2 layers of controls - default Red Layer 1, and when you hold down the Bypass footswitch you get Layer 2 Green - which is mostly optional for me, while it does trigger the 3-Presets Mode too - via the A/B/C controls. With the Red 1, and Green 2 Layers you have a total of 10 controls at your disposal, and the A/B/C option selection controls the 3 presets - but more of that later!
As a bare minimum I can make do with all of Layer 1, and just the Boost control from Layer 2 - to slightly adjust the output - while some of the controls are a little sensitive (particularly the saturation ones) and you need to be somewhat deft in how you apply them.
There’s just a couple of quirks with the pedal’s operation currently - which don’t impact the overall experience - but can be a little fiddly on occasion - in particular getting in and out of the Presets Mode - but more of that later. Right out of the gate though the ZeroSum sounds divine! I like all the Single Head and Dual Head Modes - A, B, and C - while for whatever reason I did not particularly gel with the Echo Pong mode yet (Ping-Pong) - it doesn’t have the same rhythmic quality of impact as the other two main modes which I seemed to much prefer.
Overall B and C submodes for the Dual Head Delay were my runaway favourites - where ’C’ was initially my top pick, but recently I’ve found myself more fixated on Dual Head ’B’ Mode. I’ve always been a Tape-Delay guy mostly - so it’s kind of understandable that I would gravitate toward the most rhythmic Dual Head Mode. These rhythmic delay patterns are very elegantly ’skittery’ as I like to label my favourite types of delay patterns.
There’s one really cool quirk to this delay’s output - in that you get this kind of sped-up flutter in the delay tail / trails - which at first encounter can sound a little odd - but soon becomes an essential part of what makes this delay sound so great. It’s pretty distinct in that tail-end flutter - which adds further variation and textural complexity into the pattern of delay.
The Controls and Ports
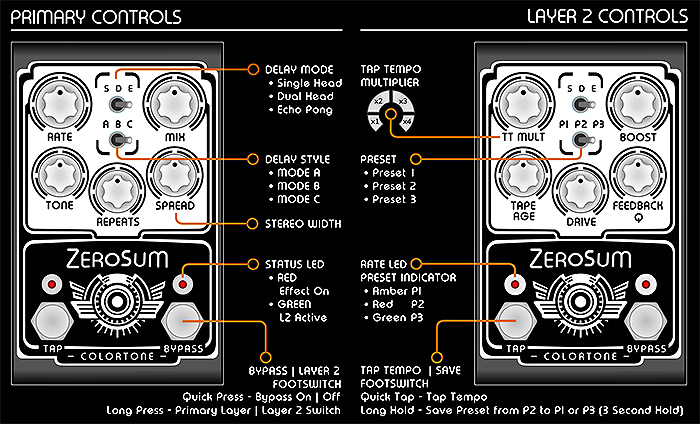
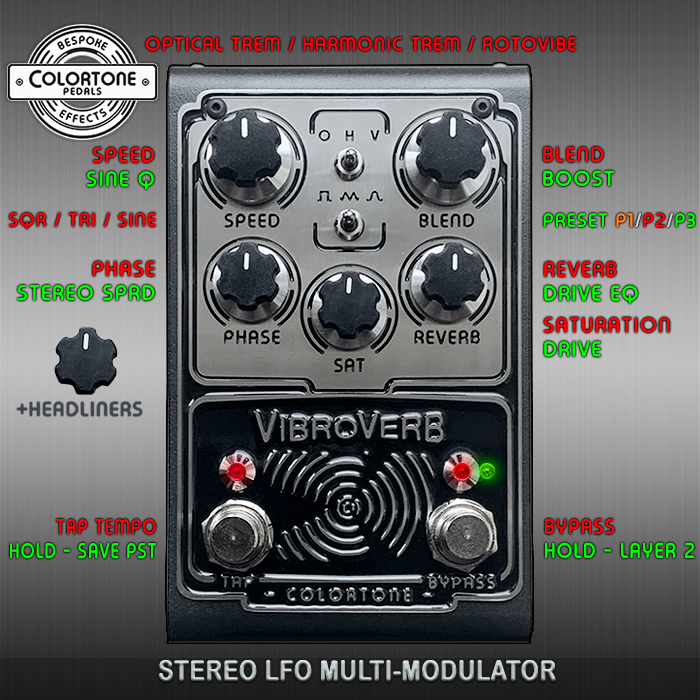
Layer 1 Controls [RED] - Rate, Delay Mode : Single Head / Dual Head / Echo Pong, Delay Style : Mode A / Mode B / Mode C [Patterns], Delay Mix, Tone (Brightness), Repeats, Spread / Stereo Width, Left Tap Tempo Footswitch, Right Bypass Footswitch, Press-Hold for Layer 2 (Green LED).
Layer 2 Controls [GREEN] - TT Rate Multiplier : x1 / x2 / x3 / x4 (Tap Tempo), Presets : P1, P2, P3 [ABC switch], Boost, Tape Age [Lo-Fi], Drive, Feedback Q, LEFT LED Indicates Presets - Amber P1, Red P2, Green P3, Left Tap Tempo Footswitch - Long press is Preset Save, Right Footswitch is Bypass - Long Press for Layer 1 (Red LED).
As I mentioned - there are 2 Layers of 5 Controls here - as indicated above, by default you get the Red Layer 1 types per the labels. And then when you hold down the Bypass to trigger the Green Layer 2 - you get 5 additional controls - Rate Multiply x1 > x4, Output Boost, Tape Age / Lo-Fi, Drive, and Feedback Q.
Generally the Repeats are very well behaved and don't get unruly even at the maximum settings, you need to roll up the Feedback Q to get properly into the more chaotic oscillation, by default the pedal is incredibly well behaved.
The Drive and Boost controls can be sensitive - and you can get unwanted artefacts if you push beyond the natural threshold - which requires some delicacy - I tend not to take the boost above the half-way mark, and the Drive is mostly all the way dialled back. While I find the Tape Age / Lo-Fi setting occasionally useful - where mostly I just tend to adjust the excellent Tone Control - for either Dull Dark repeats or more Bright and Fluttery ones.
I don't find much use for the Rate Multiplier, in fact I occasionally mis-fire using the 3-taps tap tempo system - it occasionally seems to mis-fire fore me - while that's most likely down to my usage. So I mostly stick to adjusting the Rate control.
My preferred settings across most modes tend to be Rate around 11:30-11:45, Mix @ 2 o'c, Tone @ 10 o'c, Repeats @ c.2:45 o'c, and Spread @ around 3:30 o'c. Those are all the Layer 1 controls.
On Layer 2 (Green), I have the Boost normally at 9 o'clock to Noon. And I occasionally play around with the Tape Age. I pretty much leave the Multiply, Drive and Feedback Q settings untouched.
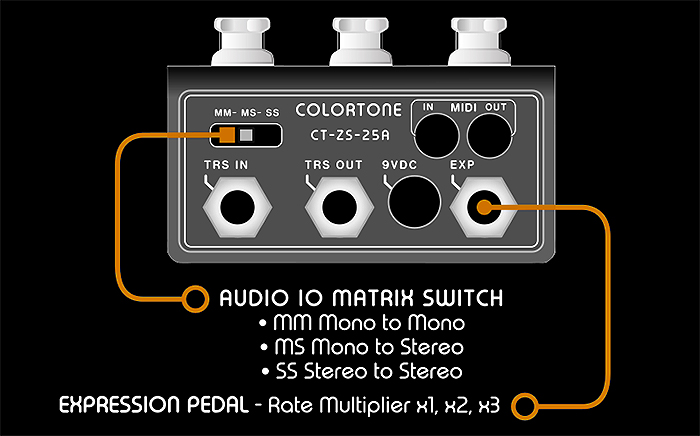
Rear Ports - Audio Matrix : MM (Mono) / MS (MISO) / SS (Stereo), MIDI In, MIDI Out, TRS In, TRS Out, 9V DC [-] 145mA, Expression : Rate Multiplier - x1 / x2 / x3.
The rear Ports Section is superbly engineered - and is consistent across both this ZeroSum and the VibroVerb Modulator. You access all the ports you need in one handy area - where the first thing you see is the :
Audio In/Out Matrix Switch : Mono to Mono / Mono In Stereo Out (MISO) / Full Stereo.
You also have MIDI In & Out, TRS In, TRS Out, 9V DC [-] 145 mA, Expression CTRL (Multiplier x1 > x3).
The Delay Patterns

So we have 3 main Modes of Delay - Single Head (Tape), Dual Head (Tape), Ping Pong which have various output Patterns set by the A/B/C toggle - which are nigh impossible to explain in words - but for which the above 10th iteration Infographic perfectly conveys the nature and pattern of those delays.
Where we've settled on using the Hourglass / Hold symbol to indicate a Pre-Delay - which you can see occurs across the B Sub-Mode for each of the main types.
I also had AD add the LR reigneds to match up with those repeated - so that the illustration was fully conextual and entirely logical. And you can see how those various beats match up for each pattern.
I had most of the fun with the Single Head and Dual Head Modes - where my two overall favourites where the Dual Head B and C variants. As mentioned C was initially my favourite, while I seem to have settled on 'B' as my always on now!
As mentioned also - you get a really cool quirkily speed-up / flutter in the Tail / Trails - which at first can seem a little odd - but long terms is ends up being rather quite magical!
I liked all the Single and Dual Head sub-modes here, but I have still to gel properly with the Ping Pong variants - which are less complex and a lot less rhythmic
The best of those patterns sound really musical and quite lush really with my settings!
The Presets
The Presets are a little bit of a work in progress currently - accessing them is relatively straight forward, You just need to enter the Green Layer 2 secondary functions operating mode (Hold Bypass) - and then the A/B/C options become the 3 Presets - which light up in 3 different colours :
A ] Preset 1 (amber)
B ] Preset 2 (red)
C ] Preset 3 (green)
So trigger Layer 2, and then move the toggle through the different presets. I really like the C] 3rd Preset here - which is nicely rhythmic. The other 2 presets are set a little too subtle for my preferences - and don't have the same impact as the last option.
To get out of Presets it's not just a matter of flipping to Red Layer 1 Mode. You need to ensure the toggle switch is in the middle of the A/B/C options (option B) before you flip across. And then back in Layer 1 you often need to flip the toggle out of the middle position - to clear the Preset, and return to Manual / Panel controls.
It's the part of the operation that I found to be the most clunky - and I encouraged AD to re-engineer the Footswitch action - so that a Dual-Press using both Footswitches - would allow you to cycle through Presets / Panel one at a time - in a kind of : 0 > 1 > 2 > 3 > 0 action. So that you can properly flip Presets on the fly, and Exit those Presets as easily as you accessed them.
AD will be doing quite a bit more work on the Presets - properly formalising them and documenting them. He can't quite recall what he intended Presets 1 and 2 to be - but the 3rd one is for sure a keeper - and deserves to stay. While I expect to update those presets myself anyway.
Hold the Tap Tempo Footswitch to save each Preset!
Final Thoughts
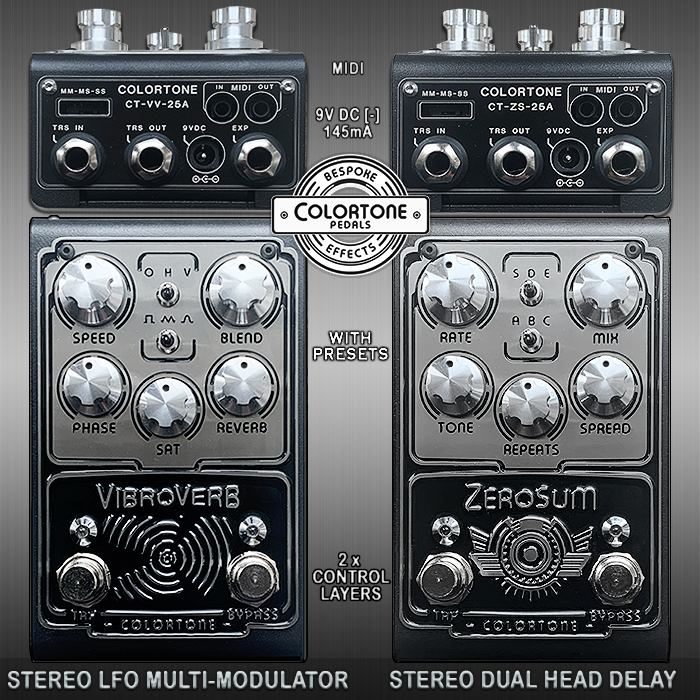
Both the new Colortone devices are amazing - while the ZeroSum is the more instantly appealing. I found it incredibly easy to dial in for the most part - and I was quick to discover my favourite Dual Head Settings. Which as reported are supremely musical and rhythmic - with a really unusual fluttery tail - which really enhanced the repeats.
I found exiting the Presets a little clunky - but everything else pretty much worked instinctively and intuitively (as long as you also remember that 3-taps are required for the Tap Tempo!). The look of this device is every bit as good as its output. It's been beautifully conceived and executed - with that super smartly designed rear panel - which houses all the connections.
The ZeroSum is just $249 / £187 direct from the Colortone Pedals Webstore (plus shipping) - which is superb value for what you're getting. Everything about this pedal is custom - the enclosure, the knobs, and the custom Electrosmith chip onboard. Every part oozes quality and evolved design principles. And the Single Head and Dual Head Modes and variations are world-class.
My good friend AD Hauser has done a quite wonderful job of realising this latest iteration of Colortone Pedals - which are the 4th major design iteration since I got involved with the brand. Every couple of years AD massively levels up. These two are the epitome of ergonomic and modern pedal-design - with every aspect considered from every conceivable angle.
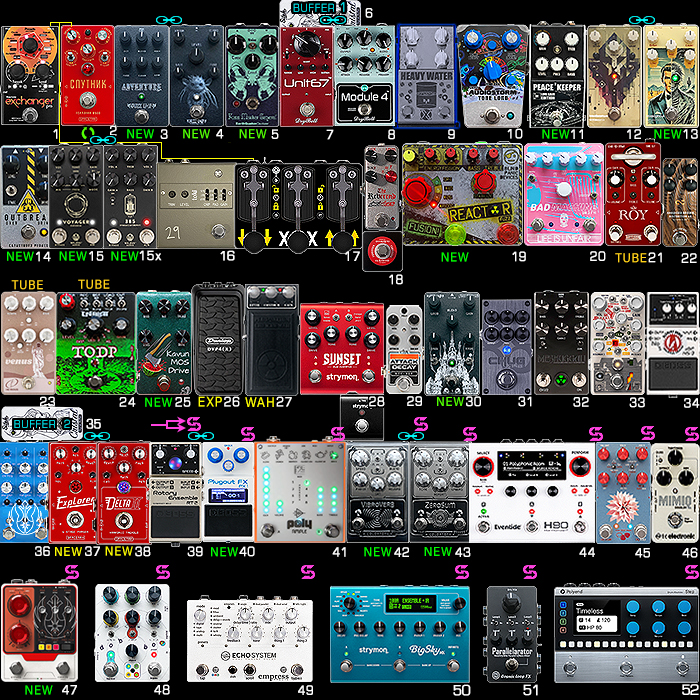
Once the Preset switching is updated - this will be a wholly perfect device. All of the different ingredients in the mix here make this a must-have device. It perfectly complements my existing 2 delays that are on the board - the Empress EchoSystem, and Flower Pedals Dahlia Full Stereo Analog BBD Delay. It offers something distinct and different from those potent devices - I'm delighted to be one of the first to put it through its paces! I don't think anyone would be disappointed with one of these!

Demos

